Some time ago I wrote an article about Anonabox. I trifled a little bit with that device and forgot about it. I came back to it when one of 0ut3r.space reader write to me, with some not very good news about Anonabox. (Thank you for the feedback!). You can find many links and articles about dissatisfied users.
Before buying, I did a research and I also found some negative opinions, but I thought that since most of them are about 4 years old maybe something has changed. It is worth giving startups a second chance, if they are still on the market and trying. I bought it, and it wasn’t bad. Now, when I exhumed my Anonabox out of the basement cemetery, it turned out that there have been no updates since my purchase, and trying to update packages on my own is a long and difficult way. From the software development and firmware update side, the project looks dead. This is why I decided to check for some alternatives.
At the moment best option in my opinion, is to setup own Tor router using Raspberry Pi 4 and TorBox software.
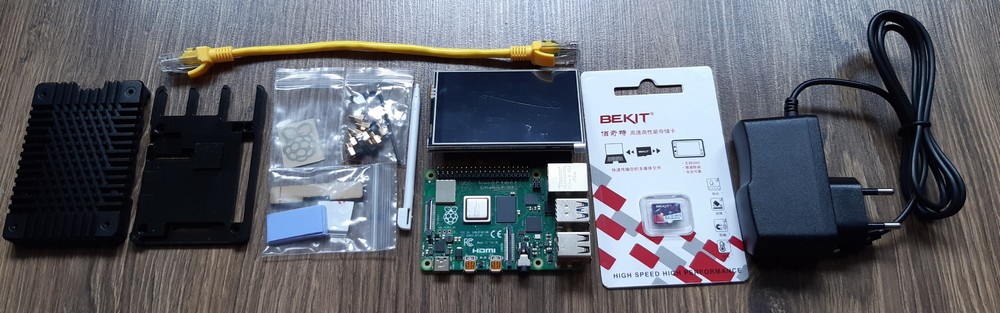
So… I bought Raspberry Pi 4, nice case with touch LCD screen, power supply, micro SD card and short network cable.
I always wanted to do something cool using Raspberry Pi. I’ve never had time or I had other more interesting expenses. It is also not an extremely complicated and stunning project. However, you have to start with something. After all, creating a router that provides security, privacy and a bit of anonymity should not be difficult and everyone should be able to afford something like that. Afford for this in terms of security and cost.
I started mounting individual components and in the meantime, I read the TorBox project documentation and downloaded the system image.
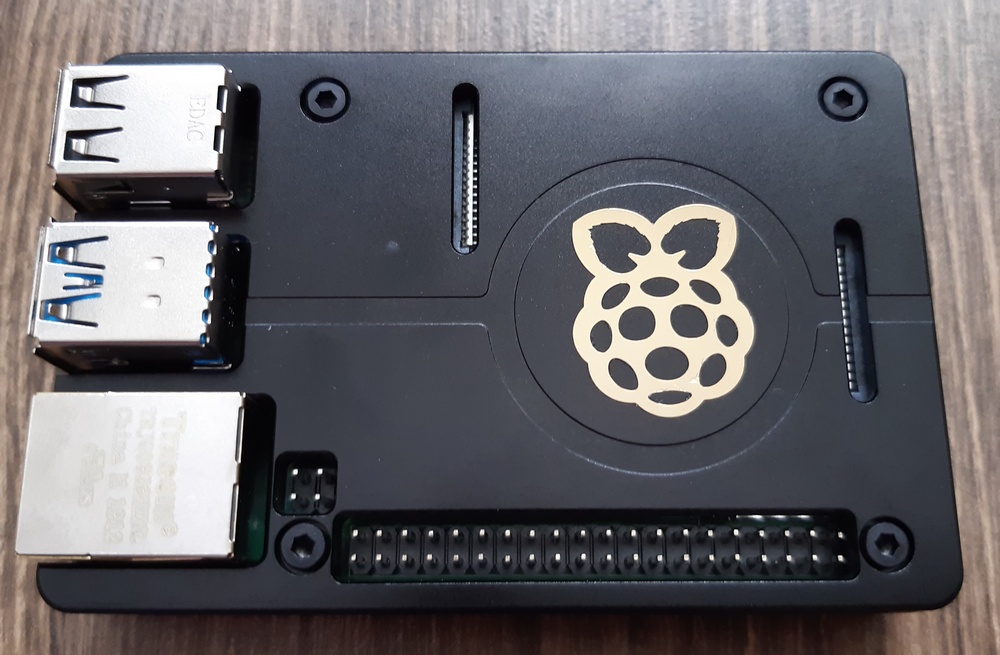
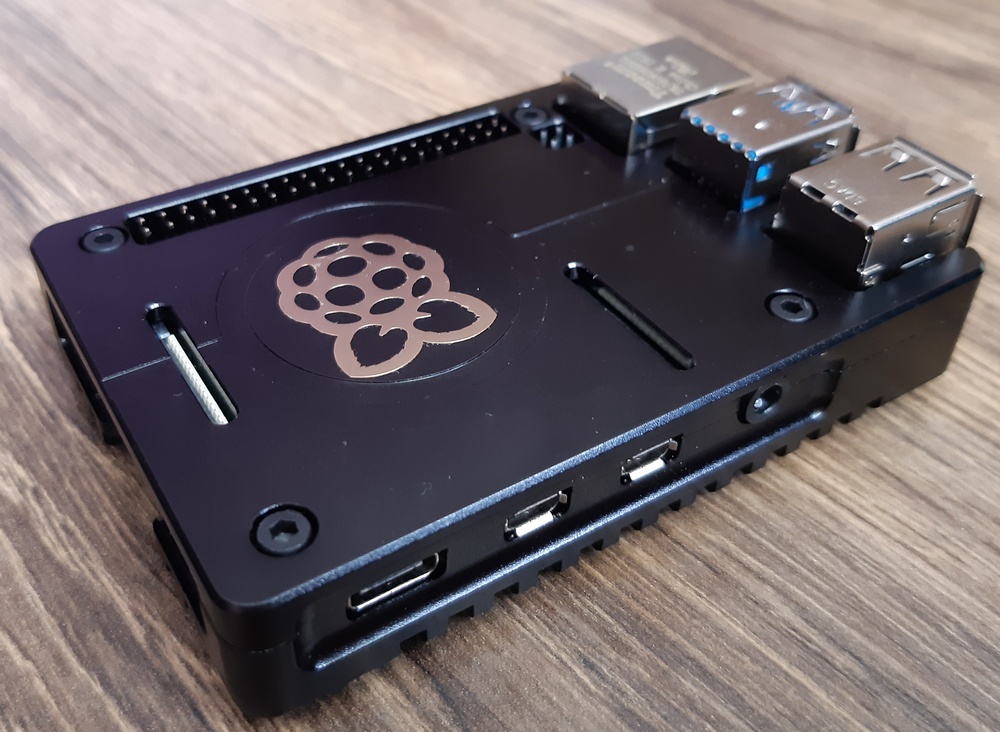
And that would be enough when it comes to assembly. Everyone can handle it. Looks good, right?
It’s time for the installation, which is also not a rocket science. We download the image, upload it to the card, insert the card into our machine, connect it to the network and power supply, we wait 2 minutes and it’s actually done :) Simple isn’t it? Thanks to the hard work and vast knowledge of TorBox developer, all this is simple and done really well.
Next step is to connect to the new WiFi network using the default password. We log in to the device using SSH (we also use the default password here), using the text interface we change the default password of the ssh user and the password for the WiFi network. The rest of the settings should be chosen according to your preferences. I will not duplicate the whole configuration, because it is simple and very well documented on the official website.
Supported connections types:
1 | INTERNET CLIENT(S) Remarks |
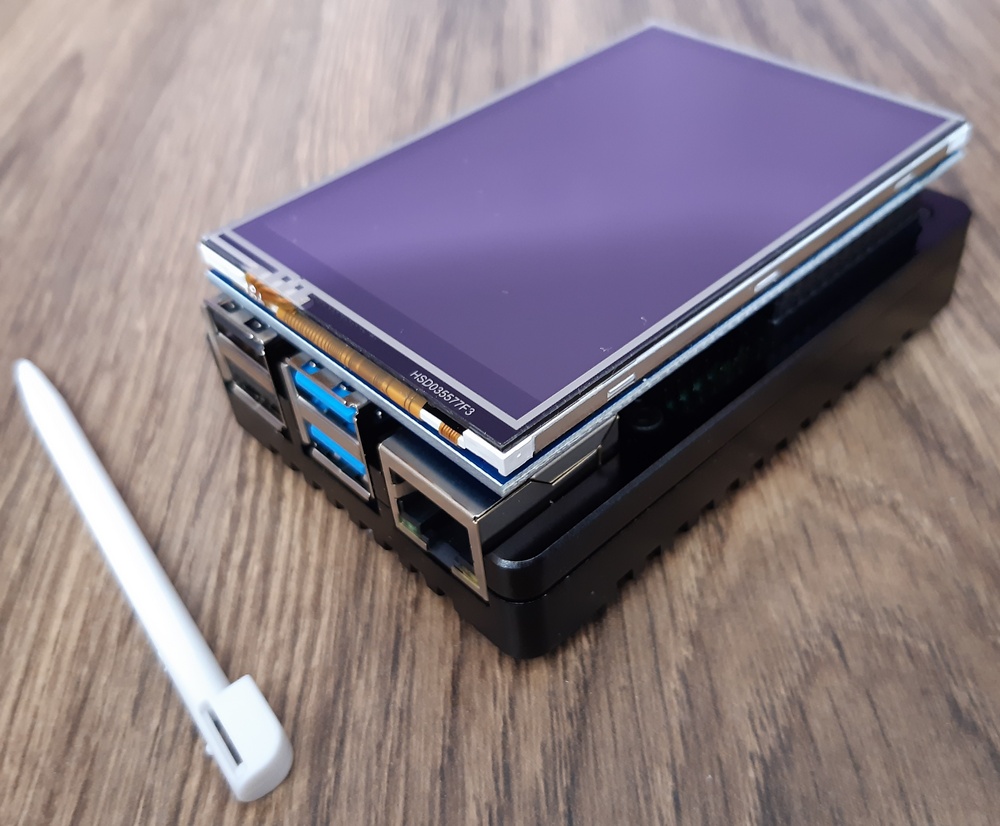
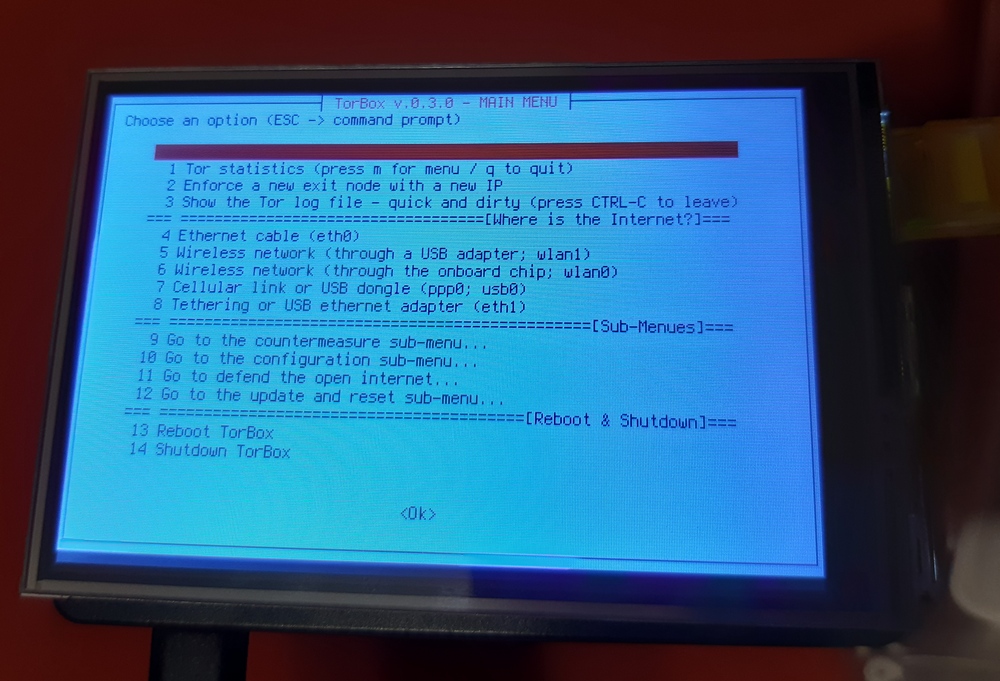
Currently officially supported screens are PiTFT. You can also install drivers using the menu. To install support for my screen (the one from Aliexpress I bought with the case - XPT2046) I had to manually install drivers. This is very easy because TorBox allows you to use the command line. In the main menu, press the ESC key.
1 | sudo rm -rf LCD-show |
You can check GitHub drivers repository for more supported screens.
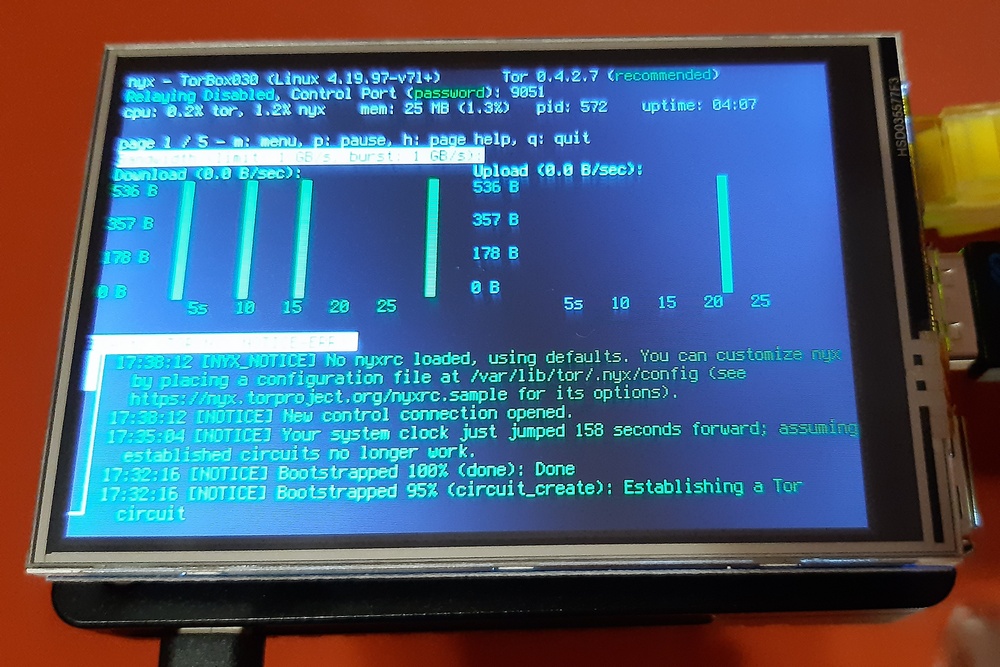
During drivers installation, several dependency errors will be displayed (related to the xserver), but this is only because the TorBox image does not have a window server installed (xorg). After installation, the device will reboot itself and you will be able to enjoy the working display. Touch won’t work. Touch functionality works only in the graphical user interface. The TorBox menu uses only the command-line interface (CLI), which is not supported by touch. Further, if you are using the image from torbox.ch, then you don’t have the xserver implemented because TorBox doesn’t need it. I contacted TorBox developer and he told me that these drivers will be implemented in near future to the TorBox, so you will be able to install this type of screen support, from the menu without manual installation. (Thank you Patrick!)
TorBox is developing very well, support is great, anyone can look into the code, report a bug or suggest and submit new options or functions. It is based on Raspbian. Updating the system and packages as well as the menu itself is simple, and even if the project stopped developing (hopefully it never happens!) you can be sure that the device and packages will be up to date. In addition, you can easily use bridges in places where the internet is censored. You can also configure your device to become a bridge and help other users gain access to uncensored internet. Device management is done via SSH or via a connected screen and USB keyboard. (Monitor and keyboard are not required for operation and work with the device and TorBox.)
The project website itself is also a good source of knowledge on technical topics as well as those related to privacy and anonymity.
I encourage you to test and support the project.