Today, nothing related to IT, booo. I decided to add new category named hobby. There will be articles related to what I do after hours. Maybe not as exciting as IT security or hacking, but I hope you like it. Besides, in life you probably need to do more than just tap the keys on the keyboard and look at the screen for days. So let’s give it a try.
I’m learning to play the guitar again. Why again? Because as a teenager I only played in punk rock bands. And as you know, punk rock with the ability to play the guitar does not have much in common. Of course not diminishing the punk rock star. However, I wanted to be able to play something that would not cause my wife to throw me out of the apartment and the neighbors would not report to the police.
For a long time I have been completing equipment that I could not afford in my youth. In my free time I try to learn new things. Unfortunately I don’t do it regularly so I won’t be a rock star anymore.
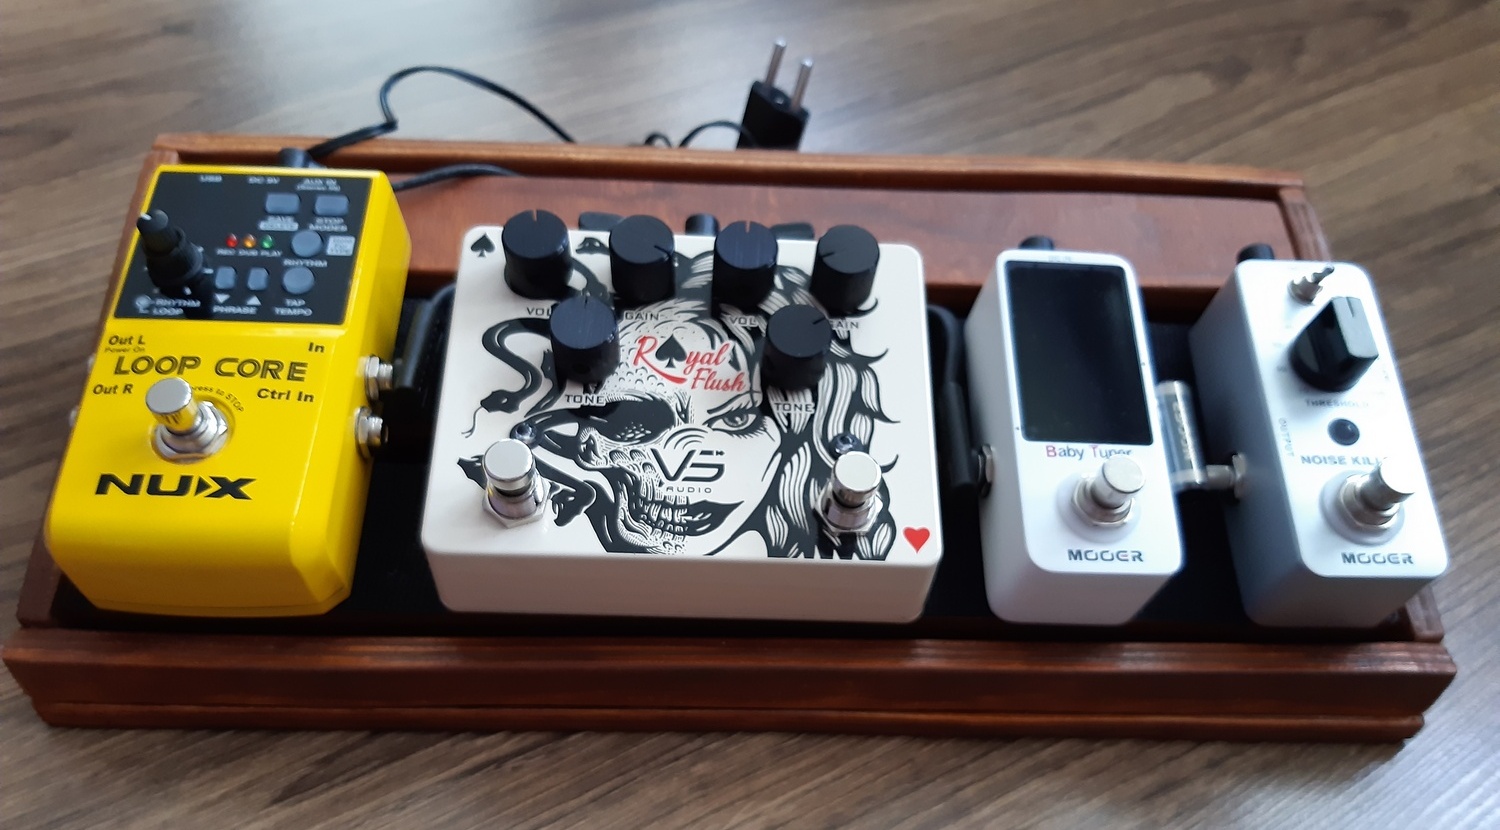
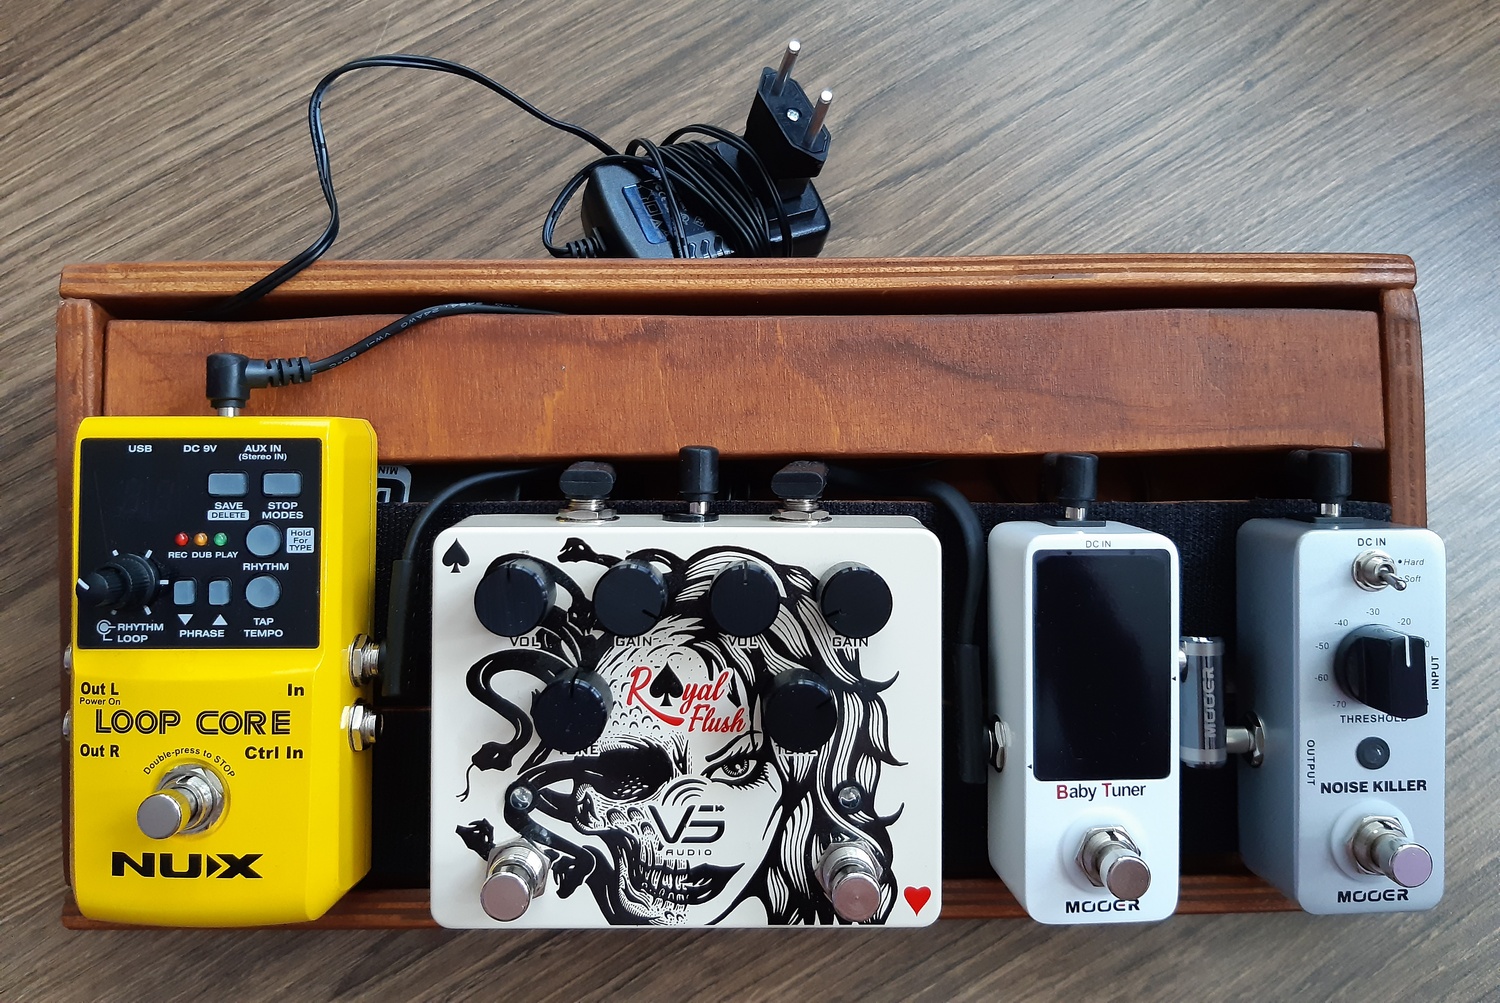
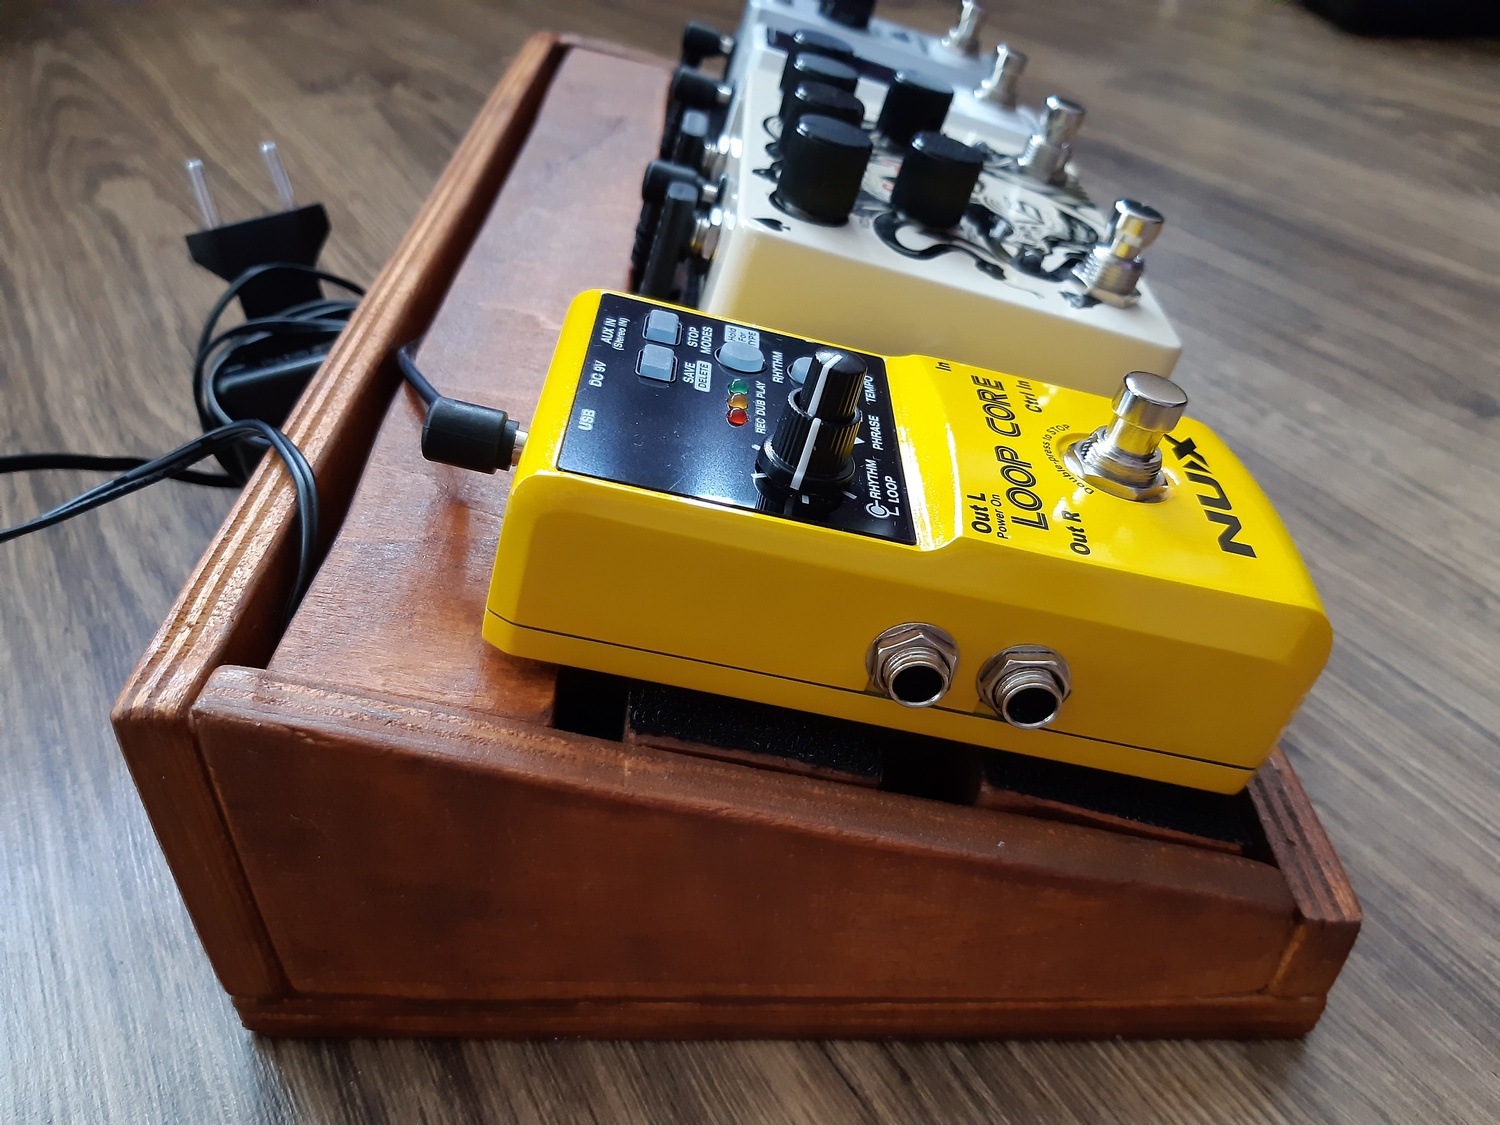
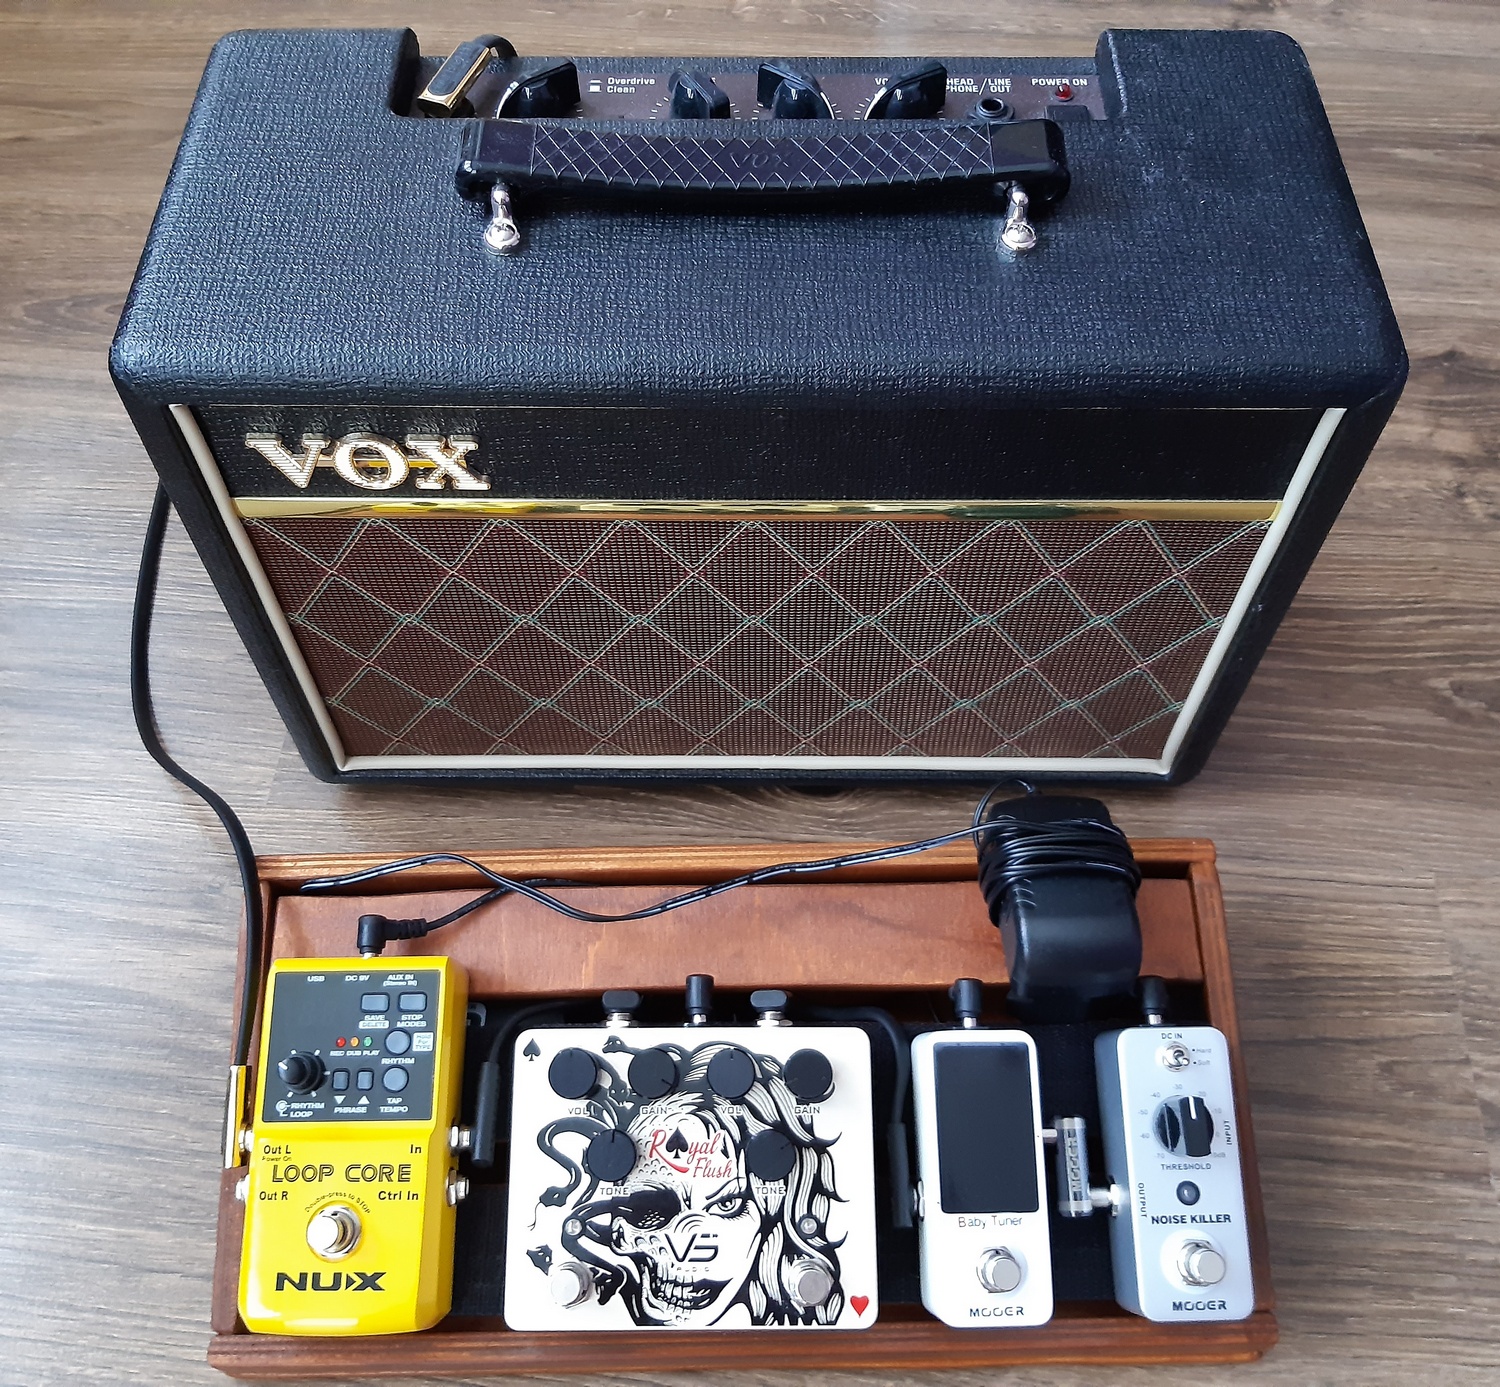
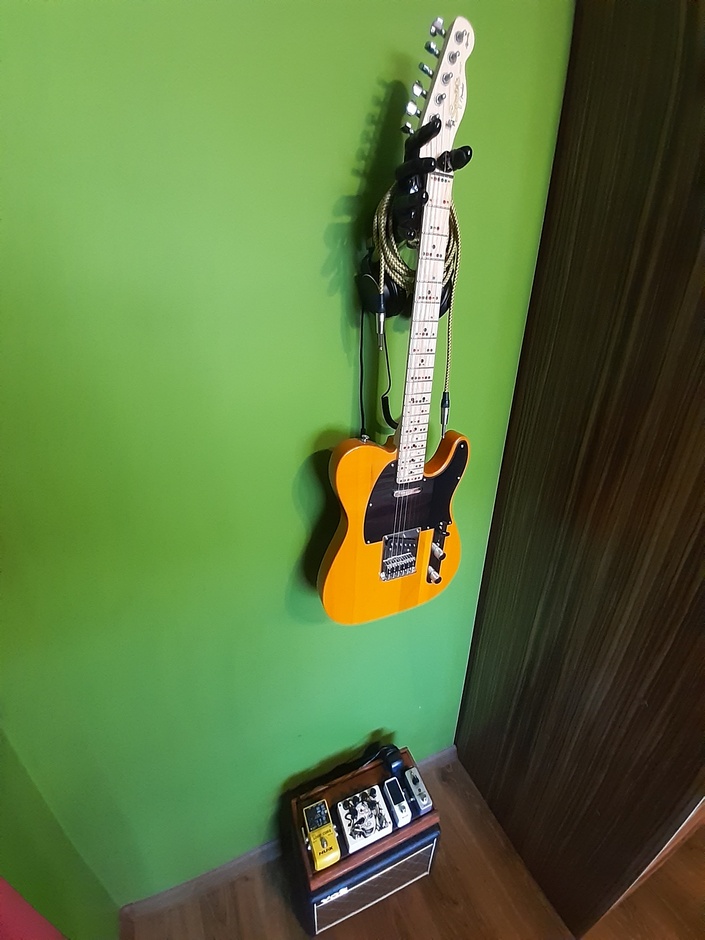
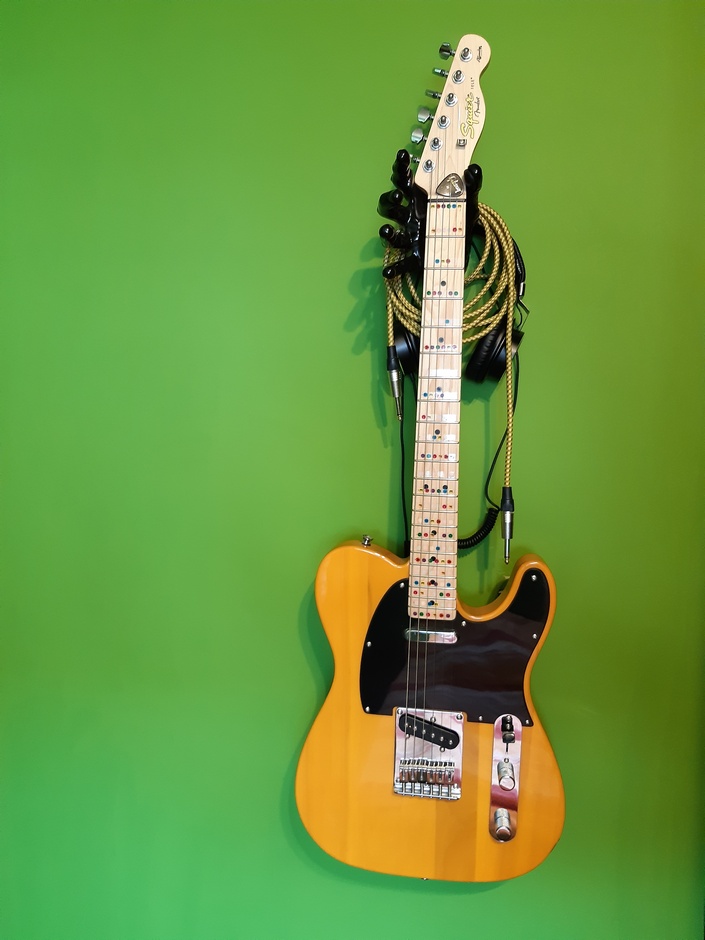
My guitar is Squier by Fender Affinity Telecaster MN, Butterscotch Blonde. Amplifier is a VOX Pathfinder 10. Guitar pedals: VS Audio Royal Flush, NUX Loop Core, Mooer Noise Killer and Mooer Baby Tuner. Power supply for pedals is from Mosky Mini DC-TANK. The guitar is hung on the wall with a Guitar Grip in shape of hand. Pedals connected by Rockboard patch cables (standard and one gold to the amp) and a PC-Z Mooer connector.
I am an amateur and I put together everything according to my preferences and many hours spent listening and watching. Maybe I made a mistake somewhere or someone may have comments about this configuration, but it works for me and I’m happy.
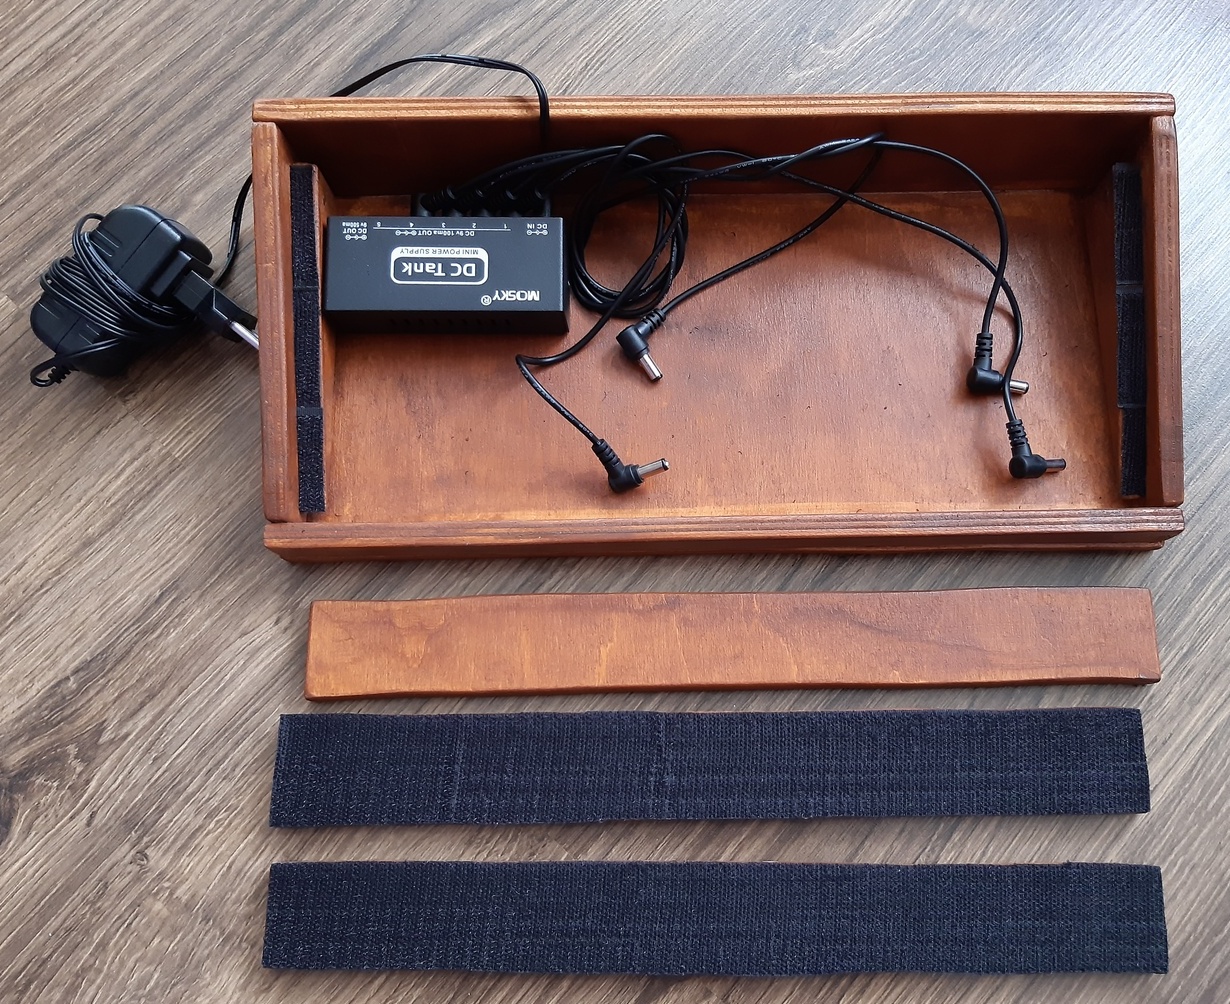
A tangle of cables drove me crazy. I started looking for a nice pedalboard. Of course, as in life, those that I like cost millions of dollars. I liked wooden ones the most. I decided to make my own. My father was a railwayman and a carpenter. Personally, I can’t drive a train, but I often helped him in his carpenter’s workshop with various jobs or just watched as a child as he creates various amazing things out of wood.
So I bought plywood, wood glue, nails, paint and velcro tape (Warwick RBO HL Tape 100). Everything cost me about 30 bucks. I measured everything and planned it out.
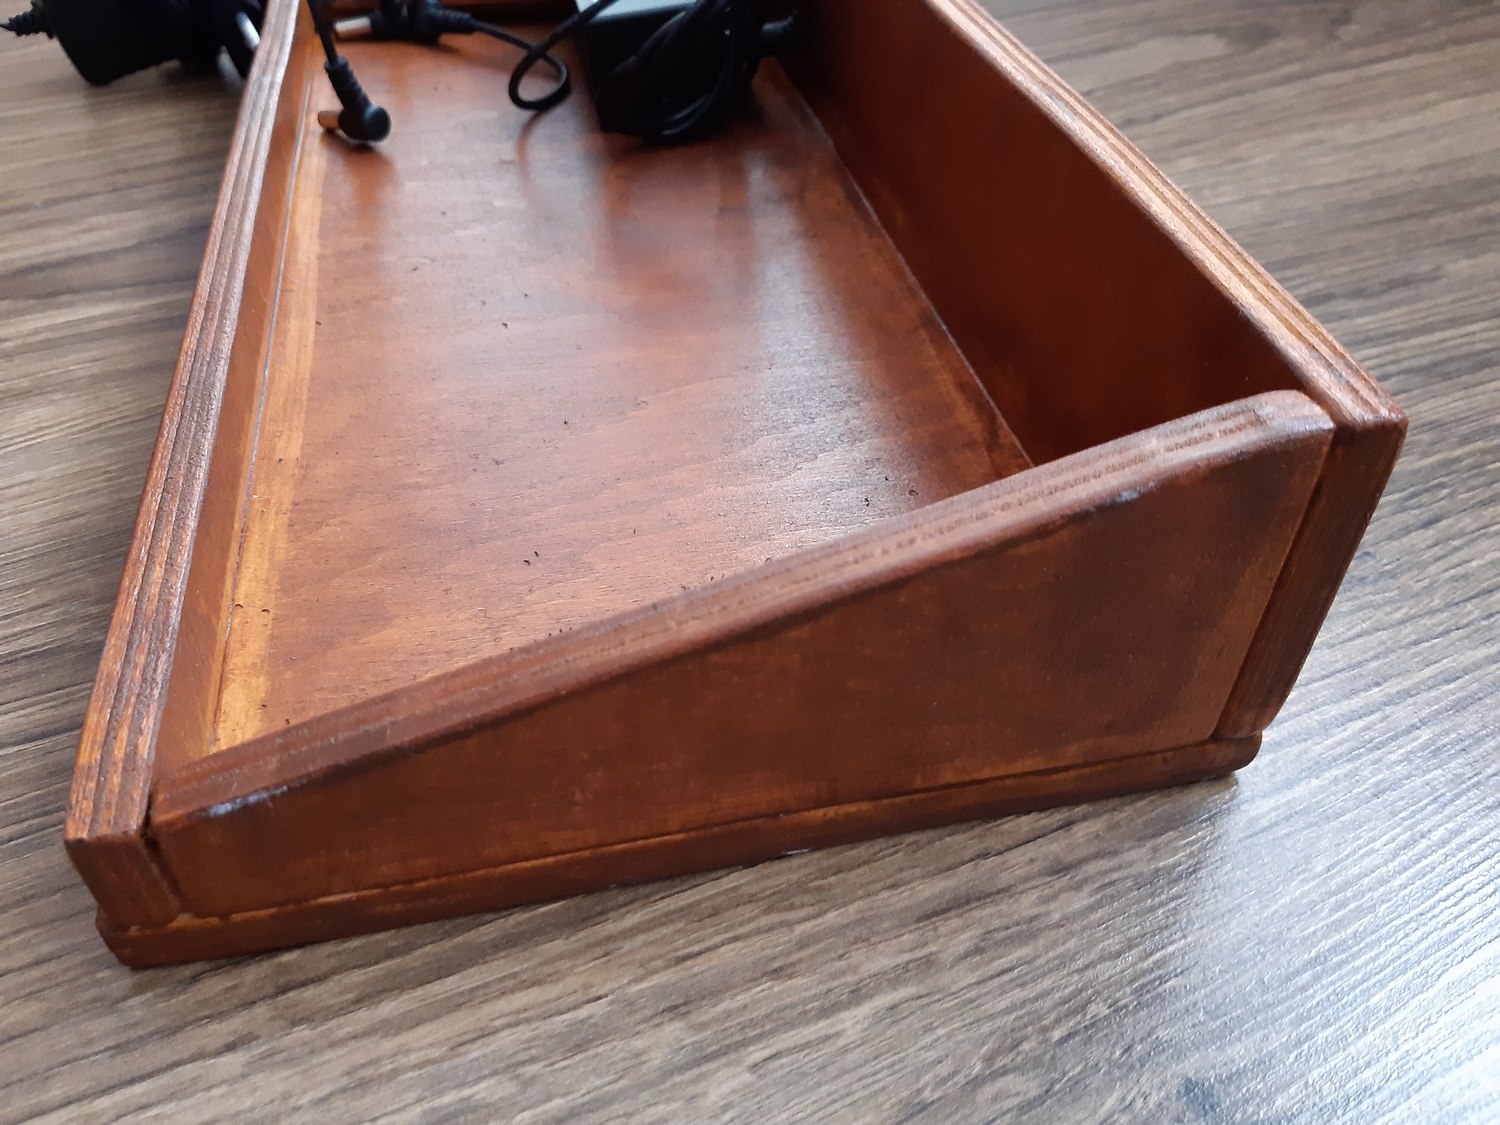
I cut, sanded, glued, added some nails, painted and that’s it. Job done. It took me few hours, but I count all day to design and wait for the paint to dry. It’s not perfect and you can see a lot of not straight elements, because I don’t have professional tools, but it seems to me that the end result is not bad. Besides, it fulfills its role. I don’t have cables tangled and transport is easier. Maybe imperfections also add charm, after all it is a hand-made product.
Of course, I was so excited about the whole project that I didn’t shoot any photos during creation. I did not think that I would like to share with the world that I created something like that. The first pedalboard did not go wrong, but I already have some ideas for improvement (I certainly wouldn’t use wood glue anymore just nails, I will add a hole for the power supply plug, etc), hence I will definitely do the second one in a while and then I will definitely document the entire creation process. It was a lot of fun.
Below are some photos of the final effect.
If you have any ideas or suggestions please let me know. Also if you want you can share your pedalboards and sets in the comments.